Instead, she said "Sherbet!" (Not sherbert? Apparently I've been saying this wrong my entire life. What would I do without you, spellcheck?) Hmm. I can't bake sherbet. Ooh, I know - rainbow sherbet and matching rainbow cupcakes! Squee!
She loved the idea, so I went off to scour the internet for recipes. I found two good ones here and here. I didn't have a whole lot of time, so I modified recipe #2.
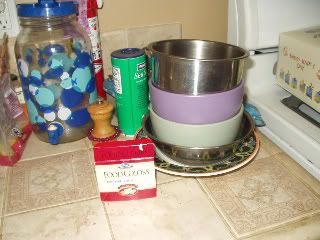
1. Get your ingredients together. You will need: 1 box of white cake mix, 1/3 cup of vegetable oil, 1 1/4 cup of milk, 3 eggs, 1 big bowl, 5 smaller bowls, spoons for mixing, cupcake trays, cupcake cups, lots of food coloring and a partridge in a pear tree.
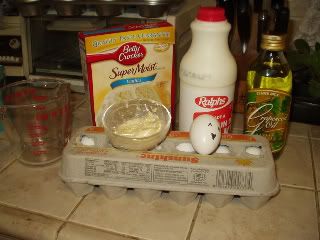
(Not pictured: Partridge, Pear tree.)
2. Mix the cake mix, milk, oil and eggs in the big bowl.
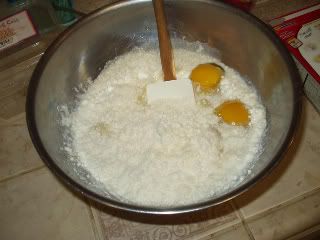
You may use your electric beater if you so desire. Wimp.
3. Dispose of the evidence.
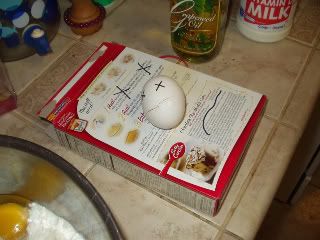
My cousin Vinnie will cut you a deal. /shifty eyes
4. Once it's all good and mixed, divide the batter evenly between the bowls. This is for a strictly red to blue rainbow, so if ya'll want to get fancy with purple or pink, you'll need more bowls. You can use an ice cream scoop to divide the batter.
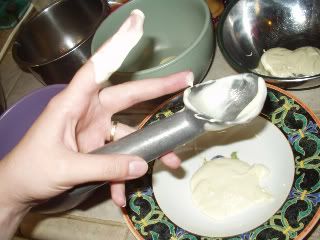
Um, if you enjoy huge messes and not a lot of work getting done. Yeah, nix the ice cream scoop thing. I ended up using a 1/4 cup measure and it worked out pretty alright.
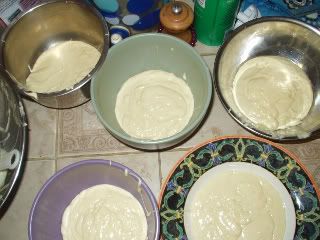
Ain't they purty? Yeah, not really. Tip: Save a bit of batter in the original bowl just in case you run out of one color. Seriously, guys, you will want that backup.
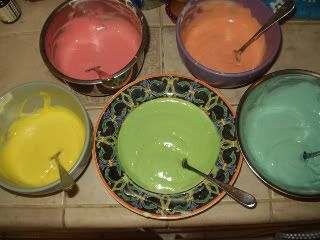
5. Add food coloring.
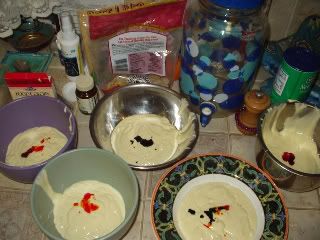
I was going for pastels on this one to match the rainbow sherbet - I did a second batch afterward with stronger colors.
Using liquid food coloring: Red = 5 drops, Orange = 3 drops red, 3 drops yellow, Yellow = 5 drops, Green = 3 drops yellow, 3 drops blue, Blue = 5 drops. The recipe recommended gel food coloring, but I didn't have a chance to pick any up.*
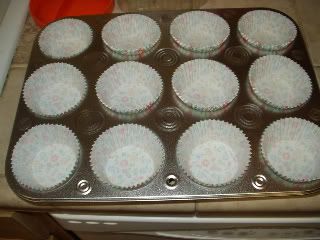
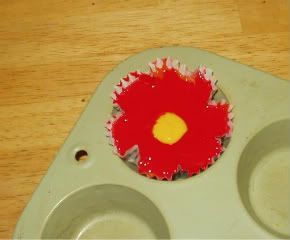
6. Layer the color into cupcake cups.

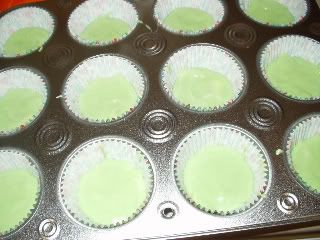
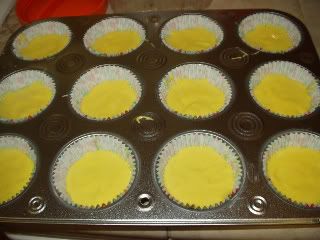
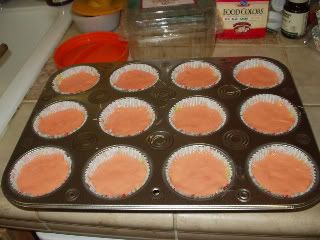
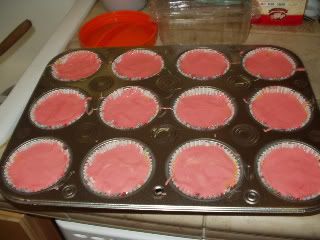
Note: Don't worry if your cupcakes look like Jackson Pollock had a seizure in your kitchen - they'll turn out just fine.
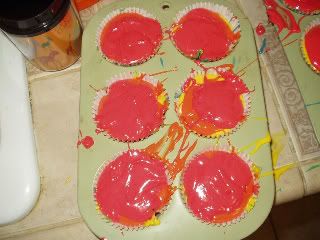
Juuuuuuuuuuuust fiiiiiiine.
Deeeeep breaths.
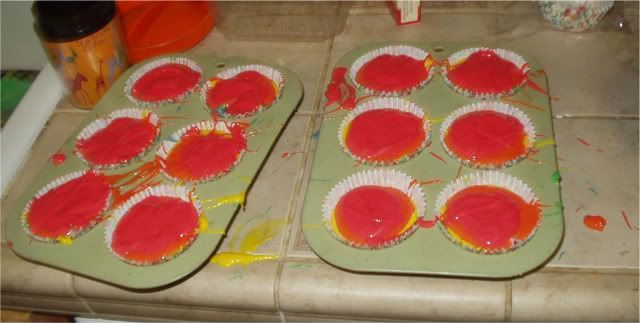
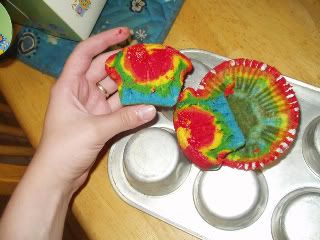
(I got kind of fed up with careful spooning and spreading on my second batch - can you tell?)
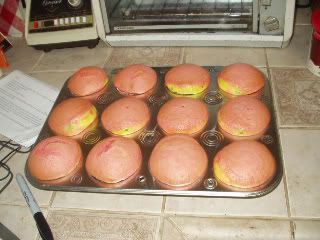
7. Preheat the oven to 325 degrees while you are doing the color. Maybe this should be step 6a? Anyway, bake for about 20 minutes, or until toothpick blah blah blah.
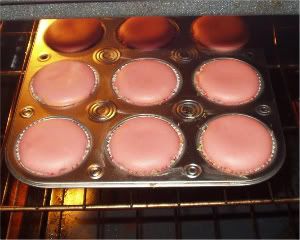
I love how cupcakes look when they're not done baking. Don't you just want to poke these?
If you get bored while they are baking (like I did), you can experiment with food coloring.
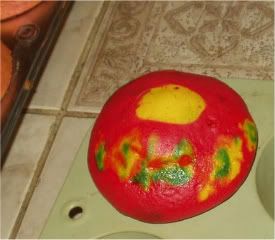
Om nom nom.
8. Let them cool before you frost them, or else the frosting will get all runny and ick.
I also made frosting for these puppies - see Fabulous Frosting for the recipe.
*Read: too lazy to drive to the store.
Love,
TWC
UPDATE: The cupcakes were a success! I had like 4 people come up to me and be all "OMG YOU MADE MY LIFE." Glee! Blee! Squee! ^____^
No comments:
Post a Comment