[And there was much rejoicing.]
So, after reluctantly putting Buffy on pause (well, maybe not so reluctant - Angel was getting emo all over the place), I ventured out into the kitchen.
Pie Crust:
You need to make this the night before because it is supposed to sit in the fridge for like 12 hours. And THEN when you finally make the pie, it has to sit out until it reaches room temperature! This is one of those things like making the bed. (You're just going to sleep in it again tomorrow...)
Uh, anyway, making the crust. This recipe will make 2 9-inch pie crusts (one for top and one for bottom), or you can cut the recipe in half and just have the lower crust.
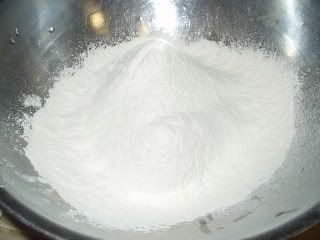
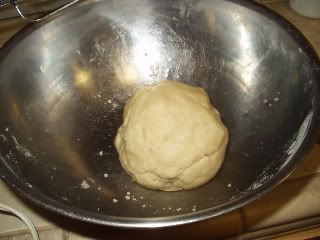
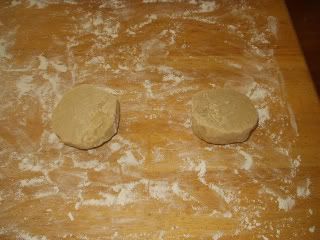
1. Sift together 2 cups flour & 1 tsp salt. (Note: The Joy of Cooking LOVES to make you sift things. It's like a fetish. A sifting fetish. Er... LOOK, A PICTURE!)
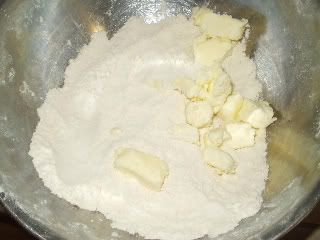
2. Measure and combine 2/3 cup "chilled leaf lard or shortening" but unsalted butter totally worked, so no worries, and 2 tbsp chilled butter. Be ready for a hella workout and OMG I have no idea how this is actually supposed to be done. I ended up cutting the butter into 1/2" lumps and sort of shaking them around in a bowl and then trying to use the butter/potato masher and failing and then sort of mooshing them and... you get the idea. It worked well enough I guess.
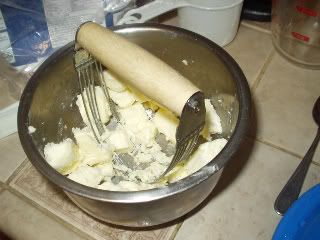
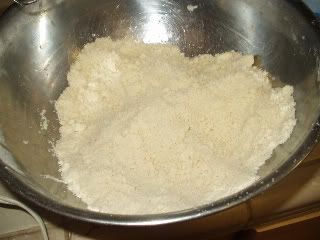
3. Take half of the butter-mix and combine it with the flour mixture using a pastry blender, or your fingertips. I used both. It says if you use your fingertips, go light on it, but that really didn't work. And the blender just rattled the butter around like chunks of icy, well, butter. So I mooshed it around and squished it and squeezed it and blah blah blah, it was fun. You wanna do this until the mix has the consistency of cornmeal. Whatever that means.
(The picture is in between steps 3 & 4. I forgot to take a picture of step 3, oops.)
4. Mix the rest of the butter in. You want a weird consistency where there are pea-sized lumps all up in yo dough.
5. Sprinkle with 4 tablespoons water and blend into the dough. You can used a fork to mix it, or you can go all hands-on like me. (No pictures, sadly, because I don't have an extra hand with which to hold ze camera.) Moosh, moosh, sqoosh. Whee!
6. When you can gather the dough together into a ball and it isn't a bunch of crumbly bits anymore, you're done. (If the dough is hella, HELLA dry, add a little more water to hold it together. You want it a little dry though, otherwise it's sticky.)
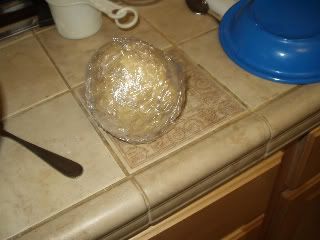
7. Wrap in plastic and store in fridge overnight.
THE NEXT DAY...
Go and buy some vanilla ice cream. Do it. Now. I'll wait.
Got it? We cool now? Good.
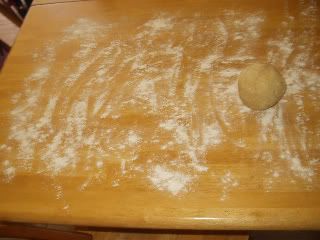
1. Get a 9" pie pan and a rolling pin and a large flat surface. Now take the dough out of the fridge, let it start warming up. Sprinkle flour over the rolling pin and the surface, so that your dough doesn't stick to the table like a gecko. Butter the pie pan. (Not to make it non-stick. but because apparently this will help brown the crust.)
2. Oh yeah, preheat the oven to 450 at some point. You don't have to do it now, I'm just putting it out there as a suggestion.
2a. You may want to get a helper for this next part. I shanghai'ed The Brother with promises of pie.

(This is an old picture of The Brother. He no longer sports a "classy" mullet, thank god, so I felt it perfectly safe to let him touch my food.)
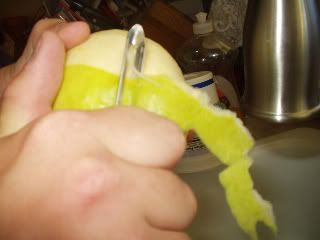
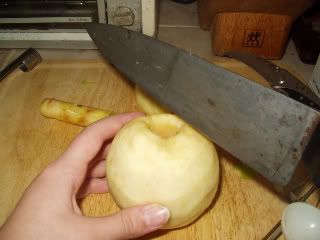
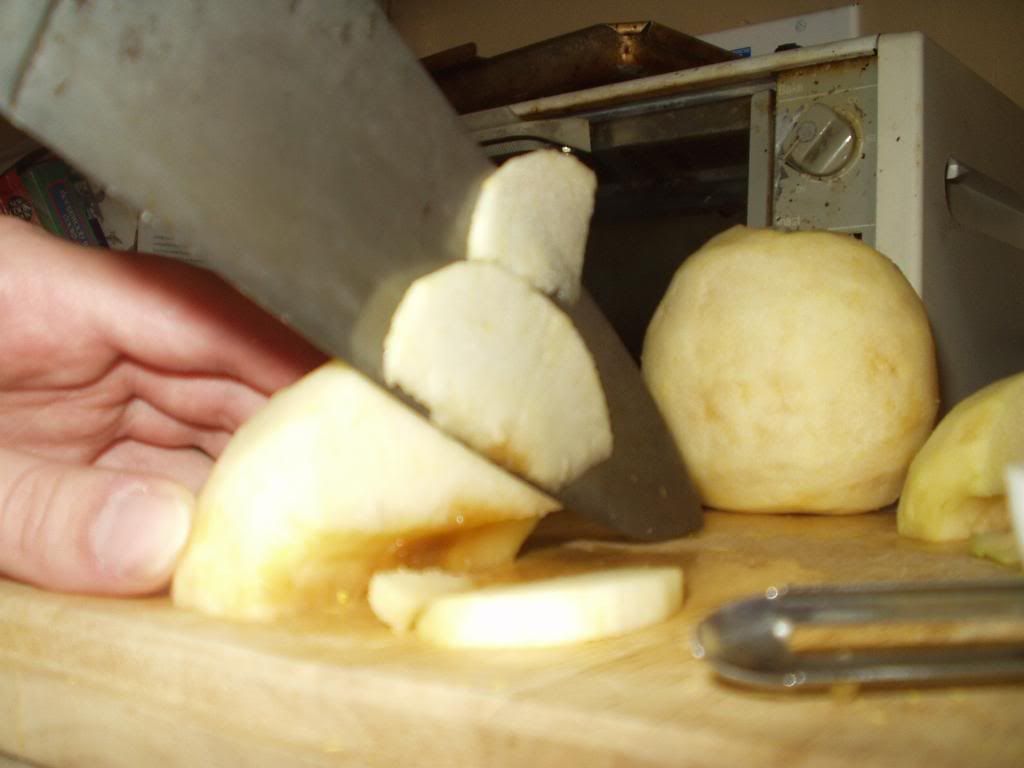
3. While you're waiting for the dough to warm up (this takes FOR-EVER), core, peel and thinly slice 5-6 cups of Granny Smith apples. Apparently they retain their flavor better than sweet apples. (Source: The Mother.)

The Brother: THIS! IS! SPARTA! [viciously cores apple]
The Brother: It puts the lotion on its skin or else it gets the hose again...
TWC: [hides sharp objects]
TWC: [hums theme from Psycho]
The Brother: [piercing shriek]
4. While the apples were being
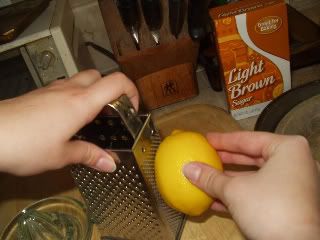
That's right, I zested the everloving
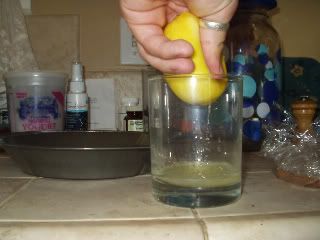
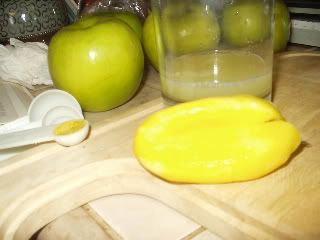
Poor deflated lemon.
5. As you go, take the apple slices and put 'em in a measuring cup with the lemon juice.
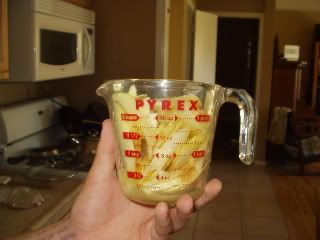
Shake em around a bit and then pour the lemon juice back out into a cup. Try to get as much as you can out, it will want to stay in the apples.
6. Okay, so Step 4 takes a while (A while <>crap dear I only used 1 tsp well we'll see how it goes. What do we use cornstarch for, anyway??) and optionally, 1/2 tsp cinnamon & 1/8 tsp nutmeg. If the apples are super sweet, only use 1/2 cup sugar. If they are super juicy, use an extra 1/2 tbsp corn starch.
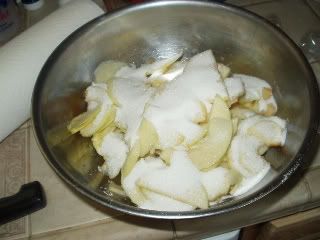
Yes this is only the sugar but I added the other stuff too I swearrr.
7. Put on some good rock-out music, if you haven't already. I personally chose this song. Mix your apple-stuff like there's no tomorrow.
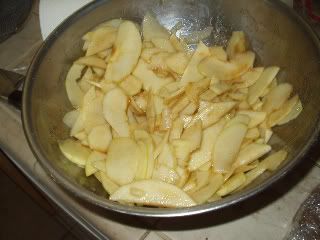
It is permissible at this point to sample an apple slice. Yum yum yum yum.
8. Roll out your pie dough. The technique on this is really important, cause if you do it wrong your pie is DOOMED. Doomed like a fat kid in a cannibal tribe. We're talking some hardcore WMD-style panic in the streets, people. So, obvs, you wanna do it right.
9. First, cut your dough in half.
Good! *pat pat*
10. Take one half and roll it out. Roll from the middle outwards, not back & forth but one way at a time, alternating strokes.
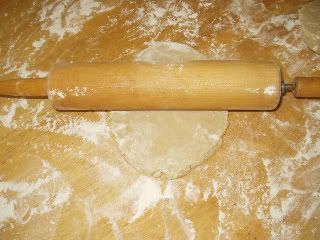
(Think Konami Code.)
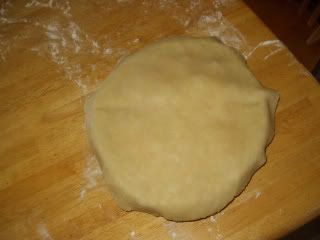
11. You want your dough to be roughly roundish and 1/8" thick at the most. Roll it a little bigger than you think you need.
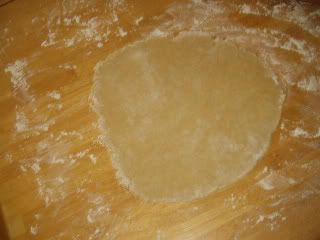
Lookin' good! [Winks, thumbs up.]
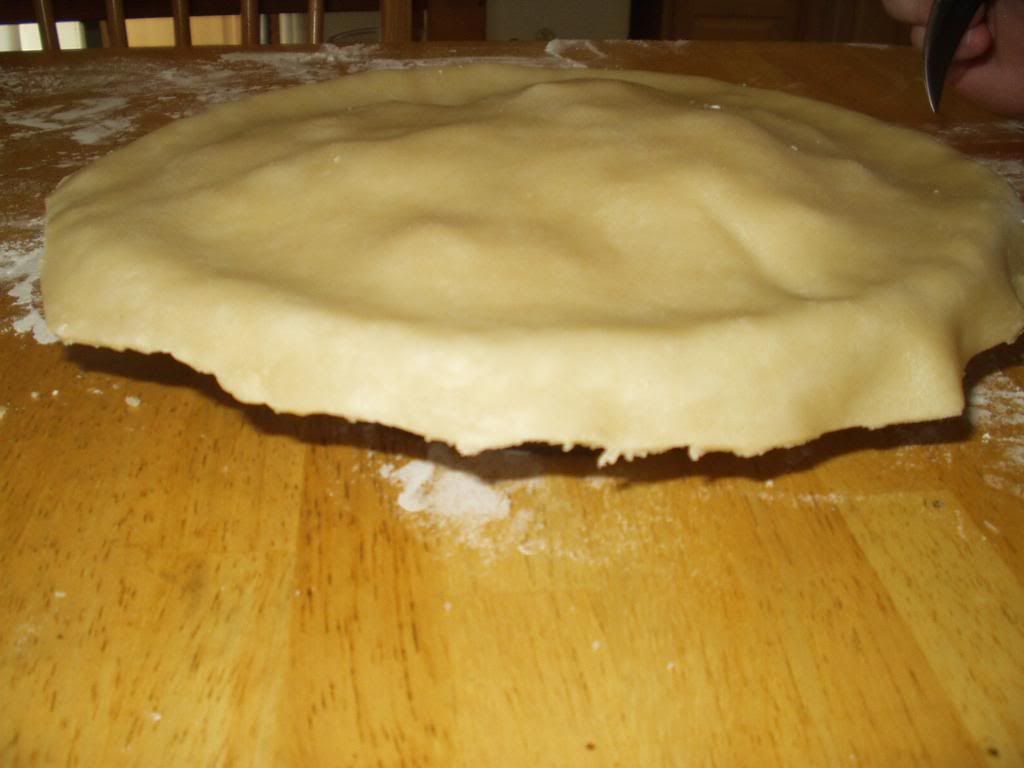
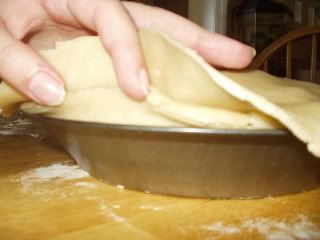
12. Fold it in half and put it in the pan. Now unfold it, pat it down a bit and voila! (Say it phoenetically. VOILA. Like doily but -a instead of -y. Heh.)
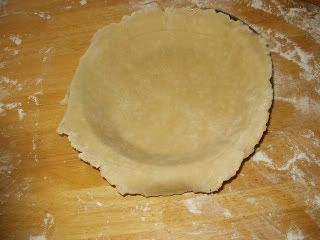
13. Trim the excess crust, leaving about 1-2" extra around the edge to compensate for shrinkage. You can use scissors or a knife for this.
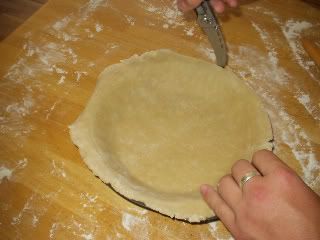
TWC: ...I kind of meant cooking knife, not stabbing knife.
The Brother: [categorically ignores me]
14. You trimmed too much.
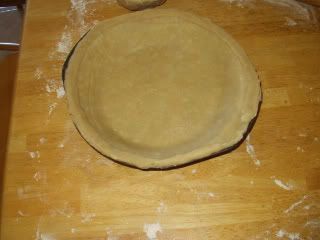
15. Panic.
16. Chill the eff out. Your pie is not ruined. I promise. Use some of the cut off dough to fortify your borders.

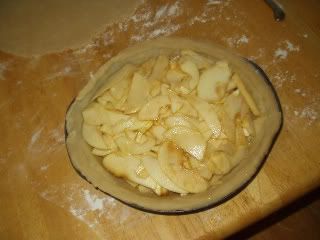
17. Layer the sliced apples in the pie. (Get 1 1/2 tbsp of butter and put little butter chunks in between each layer of apples.)
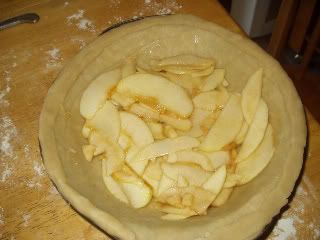
18. Fill that baby up! [makes beeping noises like a cement mixer backing up]
19. Roll out the top crust just like the bottom one and put it on.
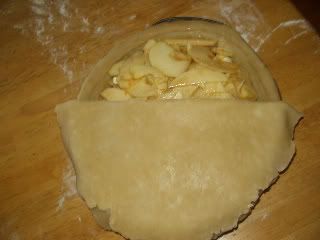
[So. Cute. Looks like babeh apples getting tucked in for the night.]
20. Profit.
21. Trim the top crust so there's a bit hanging off.
You're going to tuck this under the edge of the bottom crust.
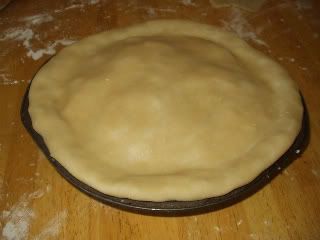
Good lord, it actually looks like a pie. Feel free to revel in the glory for a minute or two.
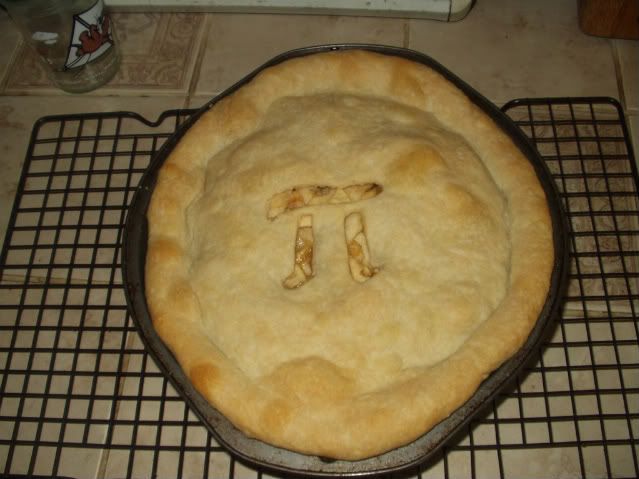
22. Cut some air holes. You can also decorate the edge with a fork or whatever you want. Oh and some people put cinnamon sugar on the top crust, or brush milk on with a pastry brush, but I didn't read that part of the recipe until just now so, uh... there you go.
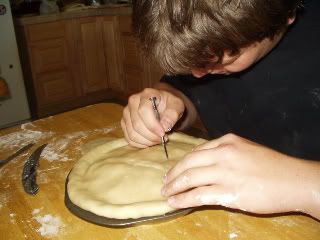
The Brother diligently cut the air-holes while I washed the dishes. [cough]
23. Stick pie in oven. Put a cookie sheet or something on a rack under it to catch any drips.
24. After 10 minutes, turn the temp down to 350 & bake for 35-45 min.
25. Remove pie from oven, DO NOT FORGET HEAT PADS.
26. Let cool. (Or not, I guess.)
26. DEVOUR WITH ICE CREAM.
<3,
TWC
No comments:
Post a Comment